
Automatic email forwarding for certain emails can be quite handy. Here is a quick guide how you create forwarding filters in Google Mail.
To start off with we need to add a new forwarding email address and verify that we are allowed to forward emails to this address. In order to do this open up Google Mail settings and click the Forwarding and POP/IMAP tab.

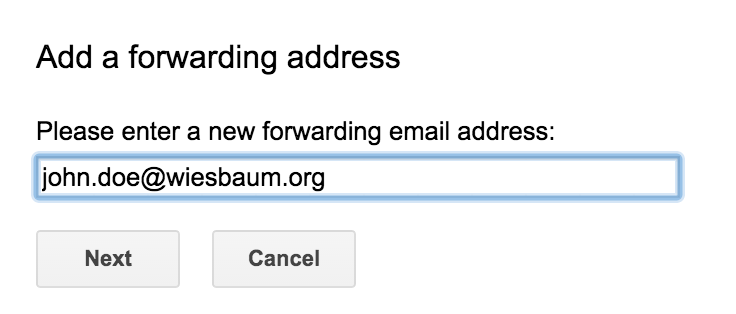
Within the upcoming tab click on the Add forwarding address button and enter an email address in the new dialogue.
As soon as the new forwarding email address is added the owner should get an email containing a verification code. With this code one can verify that one is allowed to forward emails to this address. The code can be entered within the Forwarding and POP/IMAP tab.

After verification emails can be forwarded to this address. Google Mail provides two options for forwarding emails. First option is to forward all emails to a certain address. The second option is to define filters which identify certain emails and forward these to a specific email address. The later option is of interest for us.
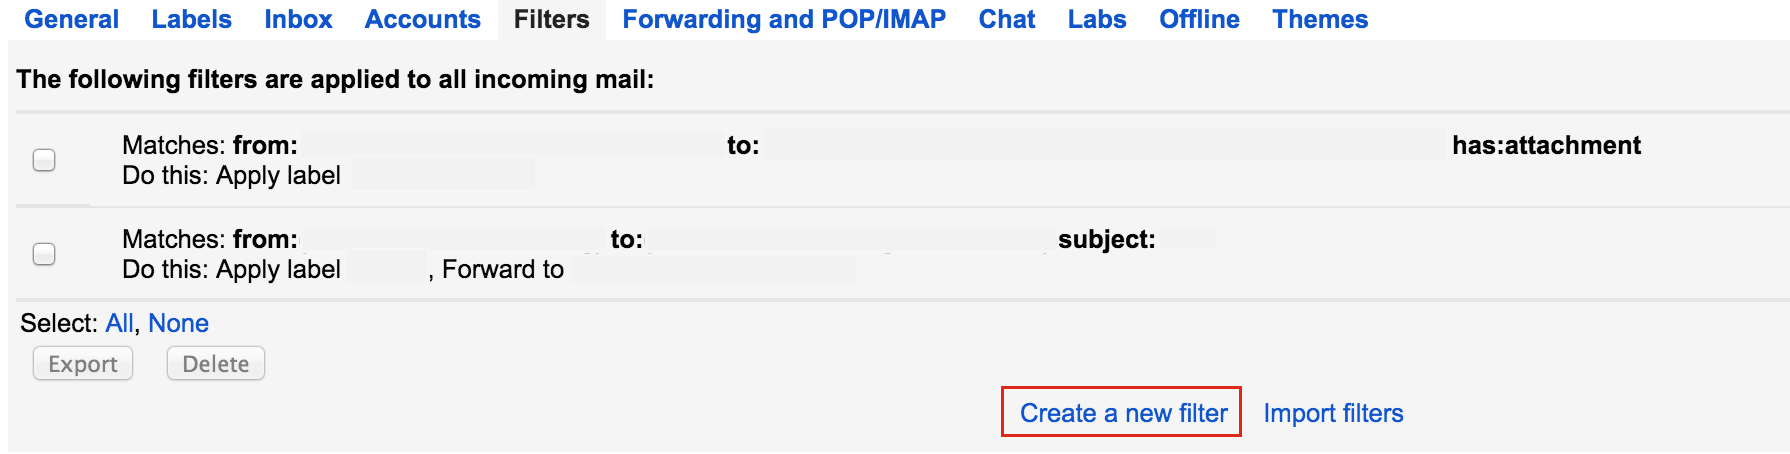
In order to create a new filter navigate to the settings Filters tab. Here one can see existing and create new filters.
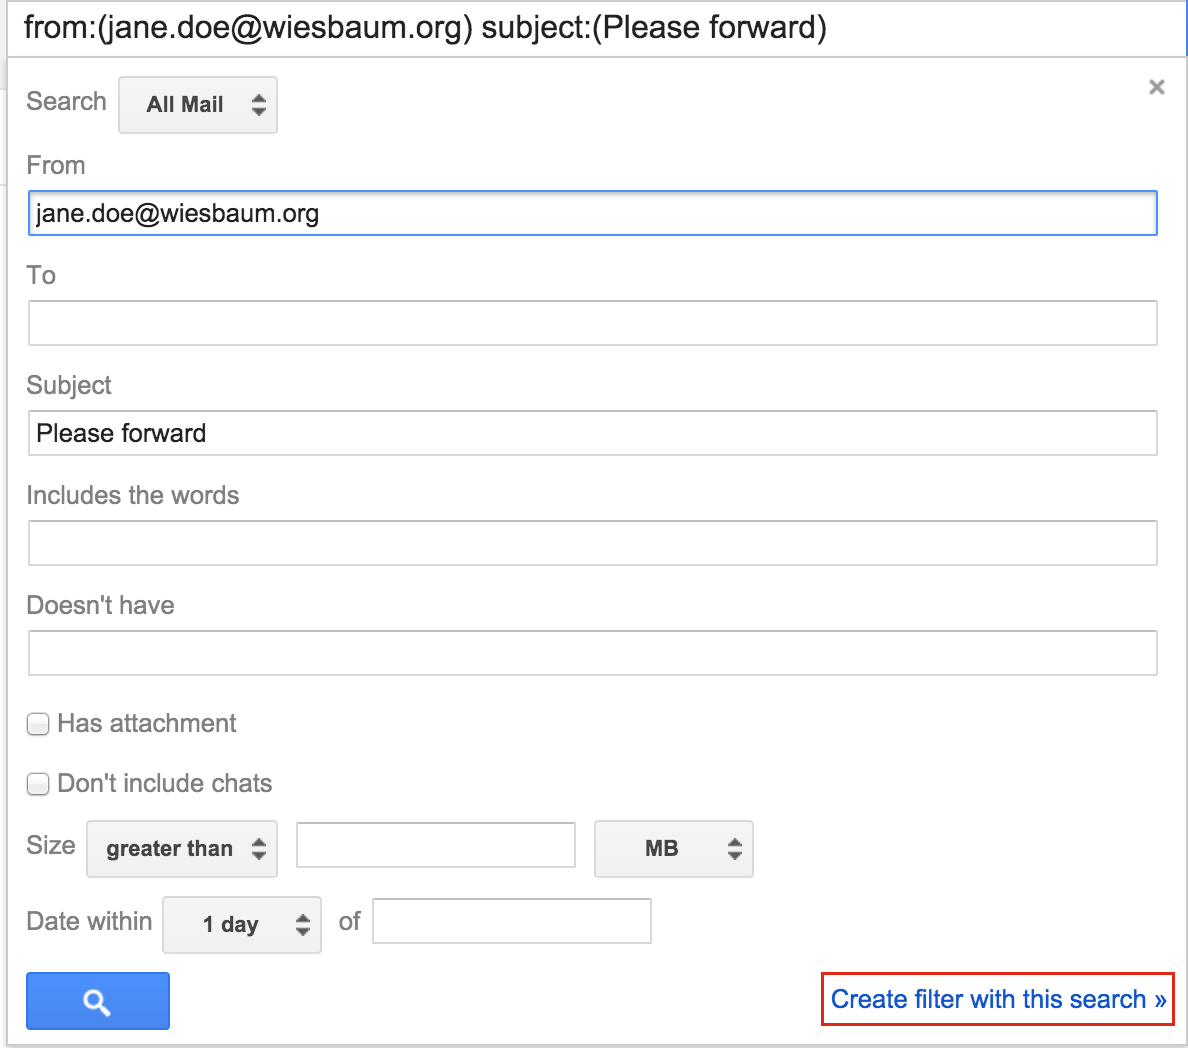
Creating a filter is very simple. First of all one has to define the filter criteria, which can also be done by simply typing search terms into Google Mail’s email search field.
Secondly, one has to define which actions should be applied to emails matching the defined filter criteria. In order to forward emails one has to check the Forward it to action and select the desired destination email address.
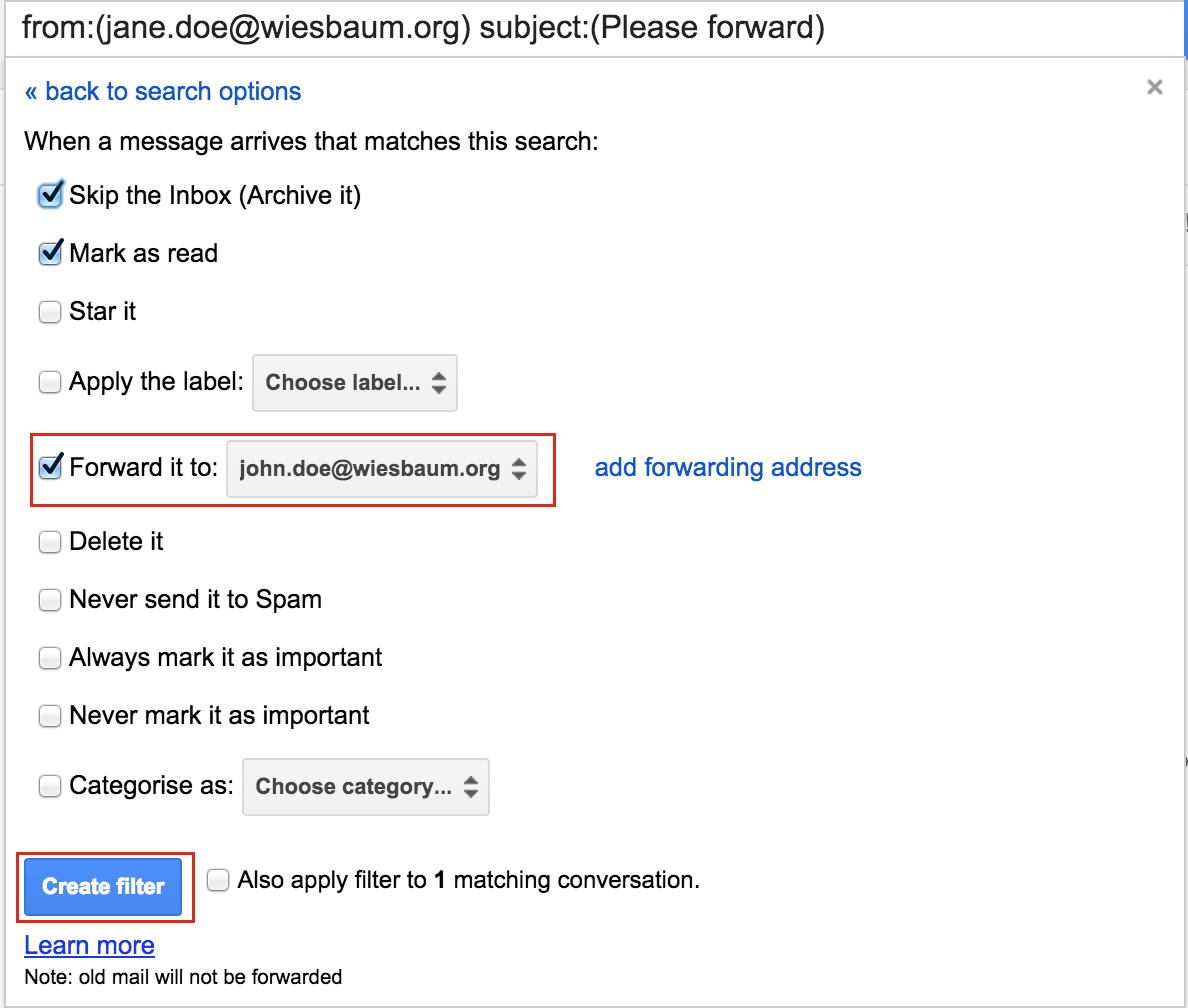
After creating the filter all actions, including Forward it to, should be applied to emails matching the filter criteria.